Running several websites doesn’t always require several WordPress installations. A WordPress Multisite cPanel setup lets you manage multiple sites from one WordPress dashboard, one hosting account, and one shared codebase.
That can save time and reduce maintenance, but only when your hosting, domain structure, and file settings are ready first. We’ll walk through the setup in plain language, including the cPanel changes that usually cause trouble.
WordPress Multisite cPanel setup: check the fit first
WordPress Multisite is designed for multiple websites that belong to one network. The sites share the same WordPress core, themes, and plugins, while each site keeps its own content and settings.
Think of it like one building with several offices. The building has shared infrastructure, but each office can have its own name, content, and day-to-day activity.
The setup makes sense when you manage:
- Several locations for one business.
- A group of related brands or projects.
- Regional websites with similar designs.
- Client sites that need shared tools and central administration.
- A membership, education, or publishing network.
The basic rule is important: all sites run from the same WordPress installation on the same server. That’s also the point made in this WordPress.org support explanation.
Multisite may not be the right choice when every website needs completely different plugins, hosting resources, security rules, or update schedules. One problematic plugin can affect the entire network. A network also needs a clear administrator structure because the Super Admin account controls every site.
Before changing anything, confirm that you have:
- Access to cPanel and the WordPress administrator account.
- A recent backup of your files and database.
- An active SSL certificate for the main domain.
- A domain or subdomain structure ready for the network.
- Hosting that supports WordPress rewrites, PHP, and database requirements.
We recommend starting with a clean plan. Decide how your sites will be organized before clicking the setup button.
Choose subdomains or subdirectories
WordPress offers two main address structures for new sites.
With subdomains, sites use addresses such as store.example.com and blog.example.com. This structure feels separate and works well for locations, departments, or brands.
With subdirectories, sites use addresses such as example.com/store and example.com/blog. This option is often easier because it doesn’t require wildcard DNS for every new site.
Choose carefully. The network structure is not something you should casually switch after setup. Changing it later can affect links, search engine indexing, redirects, and existing content.
For a new network, either option can work. For an existing WordPress site, subdirectories may not always be available, depending on the installation and current URL structure. If WordPress only offers subdomains, don’t force a different setup without checking the consequences.
Prepare the cPanel hosting account
A clean cPanel environment makes the rest of the process much easier. If WordPress isn’t installed yet, use your hosting account’s installer, such as Softaculous or Installatron, when available. Enable HTTPS during installation and install WordPress in the correct document root.
For general installation steps, SiteGround’s WordPress installation guide provides a useful reference, although the exact cPanel layout can vary between hosting providers.
If you’re converting an existing WordPress site, deactivate all plugins before starting the network setup. This removes a common source of conflicts. You can reactivate them after the network is working and test each one properly.
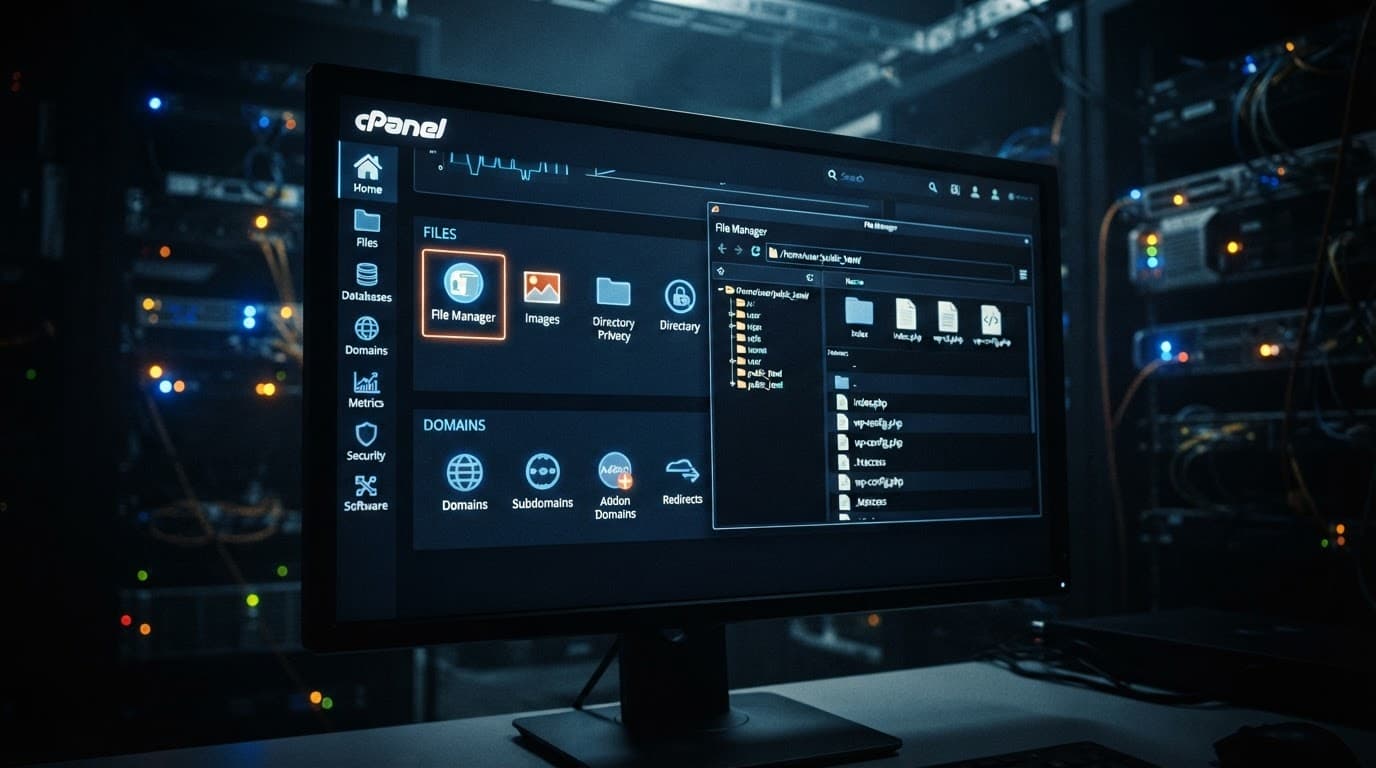
Next, check your domain settings in cPanel. Your main domain should point to the same directory where WordPress is installed. If WordPress is in public_html, that folder usually contains wp-admin, wp-content, wp-includes, wp-config.php, and .htaccess.
Subdomain networks need one extra step. Create a wildcard subdomain or wildcard DNS record so any new subdomain points to the WordPress installation. The hostname is commonly entered as *, although the exact screen depends on your cPanel version and DNS provider.
If your DNS is managed through a separate service, the wildcard record must be added there instead. The record should point to the correct hosting destination. Without it, WordPress may create a subsite successfully, but the new address can return a DNS error or a blank page.
ZADiC cPanel WordPress hosting is a practical option when you want this foundation without managing a server alone. Our hosting tools focus on one-click setup, SSL availability on many plans, security monitoring, and 24/7 human support.
Enable WordPress Multisite from cPanel
Once the hosting account is ready, you’ll enable the network in WordPress. The first change happens in cPanel File Manager.
- Open File Manager in cPanel and enter the WordPress root directory.
- Find
wp-config.phpand create a backup copy before editing it. - Open the file and locate the line containing
That's all, stop editing! Happy publishing. - Add
define( 'WP_ALLOW_MULTISITE', true );on a new line above it. - Save the file, then return to the WordPress dashboard.
- Open Tools > Network Setup.
WordPress will ask you to choose subdomains or subdirectories. Select the structure you prepared earlier. Enter a network title and the network administrator email address, then select Install.
At this point, WordPress displays two sets of configuration instructions. One belongs in wp-config.php, and the other belongs in .htaccess. The exact code depends on your domain and selected network structure, so copy the instructions shown on your own screen.
Do not paste generic Multisite code from another website. Small differences in paths, salts, or rewrite rules can prevent the network from loading correctly.
The .htaccess file is often hidden in cPanel File Manager. If you can’t see it, open Settings in File Manager and enable Show Hidden Files. The file is usually in the same directory as wp-config.php.
WordPress normally tells you to replace the existing WordPress rewrite rules in .htaccess. Save the file after making the change. Then log out of WordPress and log back in.
A successful installation usually adds My Sites to the admin bar. Open My Sites > Network Admin > Dashboard to reach the central control panel.
The code WordPress generates during Network Setup is specific to your installation. Copy those instructions exactly, including the file location and rule order.

Add sites and manage the network
From the Network Admin area, open Sites > Add New. WordPress asks for the site address, site title, and administrator email.
For a subdomain network, the address might be shop. WordPress then creates shop.example.com. For a subdirectory network, the same entry creates example.com/shop.
Keep site addresses short and consistent. They become part of the URL, so avoid spaces, unnecessary numbers, and temporary names you’ll regret later.
After the site is created, open Sites > All Sites to view its dashboard, users, settings, and information. You can visit the site, edit its settings, or access its individual WordPress dashboard from the same area.
The Super Admin controls network-wide features. Site administrators can manage their own content, users, and settings, but they may not be able to install plugins or change network-level options.
Themes and plugins work slightly differently in Multisite. The Super Admin can install them once and network-activate them. Site administrators can then use the tools you make available.
That shared setup is one of the main reasons businesses choose a WordPress Multisite cPanel network. Updates happen in one place. Branding stays consistent. New sites can be added without creating a separate hosting account every time.
If each site needs its own top-level domain, such as example-store.com, plan domain mapping separately. You’ll need the correct DNS records, SSL coverage, and a compatible setup for mapped domains. Get those details working before promoting the new site publicly.
Fix common WordPress Multisite problems
Most setup problems come from one of four areas: DNS, file edits, SSL, or plugin conflicts.
If a new subdomain doesn’t load, check the wildcard DNS record first. Confirm that the domain points to the right hosting account and that the wildcard points to the same destination. DNS changes may also take time to appear across different networks.
A 404 error often points to incorrect .htaccess rules or a WordPress installation in the wrong directory. Reopen Network Setup and compare the instructions with your files. Check that the rules were added to the root .htaccess, not a separate folder.
Redirect loops usually involve HTTPS or domain settings. Confirm that the main site and new subsites use the correct https:// address. If a proxy or CDN is active, check that it recognizes the SSL connection between the visitor and the server.
If Network Setup doesn’t appear, confirm that the WP_ALLOW_MULTISITE line is above the stop-editing comment. Check the spelling, punctuation, and file location. A caching plugin can also hide recent changes, so clear the cache after editing.
A white screen or broken dashboard may come from a plugin that isn’t network-compatible. Leave plugins deactivated while testing. Reactivate them one at a time, and remove any plugin that causes the problem to return.
Once everything works, take another backup. Keep WordPress, themes, and plugins updated across the network. Give Super Admin access only to people who need full control, because one compromised administrator account can affect every site.
Choose hosting that can grow with the network
A small network may run comfortably on standard cPanel WordPress hosting. As traffic, media files, and background tasks increase, resource limits become more important.
Watch for slow dashboards, failed updates, database errors, and timeouts. These are signs that the network may need more server resources, not another plugin.
ZADiC gives you room to start small and upgrade when the network needs more power. Our managed Web Hosting Plus and VPS options support growing websites that need stronger performance and more control, while human support remains available when you need help.
The goal is simple: keep the shared WordPress structure convenient without allowing hosting limitations to slow down every site in the network.
Conclusion
A WordPress Multisite cPanel setup works best when you prepare the domain structure, backup, SSL, and hosting account before changing WordPress files. Choose subdomains or subdirectories carefully, copy the generated configuration exactly, and test each new site before adding more.
For a low-hassle start, use reliable cPanel WordPress hosting with the support and resources your network needs. Once the foundation is right, one WordPress installation can make managing several websites faster, cleaner, and easier to grow.