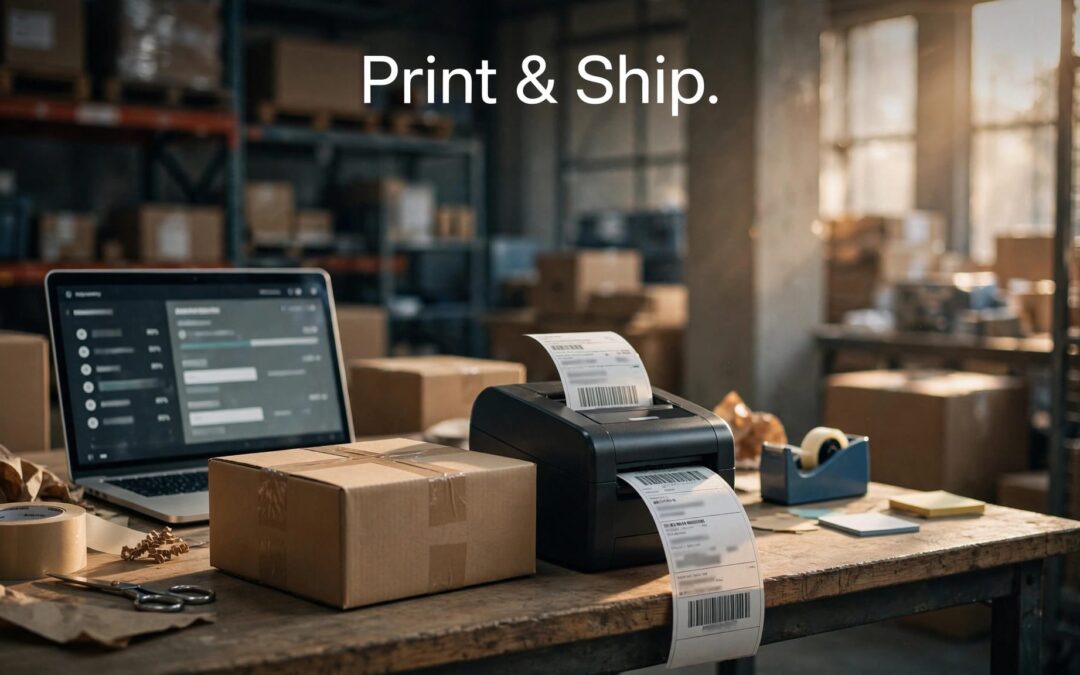
You can print WooCommerce shipping labels from an order, then update its status when fulfillment is finished. The important part is keeping postage, tracking, and order status connected without treating them as the same thing.
We recommend starting with one label-printing tool and clear rules for customer updates. That keeps your packing process easier to manage and helps prevent duplicate notifications. First, choose the tools that match how your store ships.
Key Takeaways
- Use a label-printing plugin for postage, and configure shipping rates charged to customers separately.
- Enter accurate product weights, package dimensions, and origin details before requesting carrier quotes.
- Add tracking before sending completion emails, and change statuses only when the fulfillment record supports the update.
Compare Shipping Plugins by the Job They Do
Shipping plugins handle different jobs. Some calculate what customers pay. Others buy postage, print labels, and pass shipment information back to your store.
Here's how the main options compare.
| Plugin or platform | Best for | Trade-off |
|---|---|---|
| WooCommerce Shipping | Discounted labels inside the WooCommerce dashboard | Live rates at the point of purchase require a separate setup |
| ShipStation | Importing orders across sales channels and sending tracking to customers | Requires a separate subscription |
| Flexible Shipping | Checkout rates based on weight, cart total, and other conditions | Free base plugin and PRO version; doesn't print labels itself |
| WooCommerce Table Rate Shipping | Rate tables using weight, price, item count, shipping class, and destination | Paid WooCommerce Marketplace extension |
| Packlink PRO, Sendcloud, Easyship, Boxtal | Multi-carrier labels created from synced orders | Carrier availability depends on the seller's country |
| ELEX USPS (WooCommerce USPS Shipping Method) | Live USPS rates at checkout | USPS only; the paid version adds label printing |
The practical choice starts with your biggest task. For dashboard postage, we recommend considering the official WooCommerce Shipping plugin. It offers discounted labels and live label-rate comparison without requiring separate carrier accounts.
ShipStation makes more sense when orders arrive through several sales channels. Flexible Shipping and Table Rate Shipping address customer-facing pricing rules instead. Choose around the work you need done, rather than installing several tools with overlapping features.
Before relying on Sendcloud's synced-order label workflow, confirm that its carriers are available in your country.
Print WooCommerce Shipping Labels From an Order
Install and activate WooCommerce Shipping as your shipping label plugin, then complete its connection, origin, and payment setup. With that foundation ready, you can print shipping labels from the order.
- Open WooCommerce > Orders and select the order you want to fulfill. Review the purchased items and delivery address.
- In the Shipping Label section, click Create shipping label. Some versions display the plural wording, "Create shipping labels."
- Verify the ship-from address and destination. Enter the package weight and dimensions, including the packaging rather than relying only on product weight.
- Compare available carrier services. Options can include USPS, UPS, or DHL Express, depending on the origin and shipment.
- Select the service, pay for the label, then print it or save the PDF.
The official WooCommerce Shipping documentation describes the order-page label workflow.

Before attaching the label, match it to the order and parcel. Keep the carrier, service, and tracking number associated with the correct purchase.
Pay particular attention when several parcels are waiting together. A correctly printed label still creates trouble if it goes on the wrong box.
Creating postage also doesn't automatically tell you which order status is appropriate. Your store's fulfillment process should control that decision.
Update Order Statuses When Fulfillment Changes
An order status tells your team what work remains. Carrier tracking tells customers where the parcel is. We recommend keeping those messages separate.
Keep Processing Until Fulfillment Is Finished
For a typical paid physical order, Processing means payment has arrived and fulfillment is next. Printing a label can happen while packing is still underway.
When fulfillment is finished, open the order, choose Completed in the Status dropdown, and click Update. Completed describes your store's fulfillment milestone, not proof that the customer received the package.
Our guide to WooCommerce order statuses explains when each status fits. Keep order notes aligned with the action taken so another team member can follow the record.
Add Tracking Before Completion Emails
Save the correct carrier and tracking number before completing the order. That gives a compatible tracking integration the information it needs to include a shipment link in the completion email.
A purchased label doesn't prove the carrier has received the parcel. Avoid wording that promises movement or a delivery date before tracking supports it.
For partial shipments, don't complete the entire order while items remain unfulfilled. If a shipping integration changes statuses automatically, make its trigger match your fulfillment rule. One deliberate update is easier to trust than several plugins changing the same order.
Set Checkout Rates and Free Shipping Rules
WooCommerce core includes Flat Rate, Free Shipping, and Local Pickup through shipping zones. It doesn't request live carrier rates by itself.
Build Zones Around Accurate Product Data
Open WooCommerce > Settings > Shipping > Shipping zones. Define destinations, add eligible methods, and place narrow local zones above broader regions. WooCommerce uses the first matching zone.
Create zones for the international destinations you serve, and verify that your chosen methods cover them.
Set the store origin address, assign shipping classes where useful, and enter any credentials required by your carrier extension.
Accurate product weights are essential for weight-based shipping and live carrier quotes. Many carriers also need dimensions, and missing data can produce an inaccurate quote or no quote at all.

Choose a Minimum Your Margins Can Support
For free shipping above an order value, add Free Shipping to the relevant zone. Select its minimum-order requirement and enter your chosen amount. Keep a flat or table rate available for smaller orders.
Use recent orders and actual delivery costs to choose that minimum. Include packaging, preparation costs, expensive destinations, and products that cost more to send.
There isn't one minimum that suits every store. Test baskets below, at, and above yours before promoting it. State the eligible destinations and any coupon requirement clearly.
For a fixed delivery charge, WooCommerce's Flat Rate settings support per-order, per-item, and shipping-class calculations.
Test the Shipping Setup Before Going Live
A saved setting is only the starting point. We recommend testing the complete purchase path, from order placement through payment, label creation, status change, and customer notification.
Run Orders Through Every Shipping Zone
Use representative products and addresses, including heavy items and costly destinations. Compare the checkout quote with the carrier's rate for the same origin, destination, package, and service.
Use this short setup checklist:
- Confirm each destination matches the intended zone and has an eligible shipping method.
- Test guest orders, mobile orders, and baskets with different shipping classes.
- Open the customer email and follow its tracking link to the correct shipment.
Our WooCommerce order tracking setup guide covers the connection between shipment details and customer-facing updates.
Avoid Duplicate Rates and Stale Checkout Totals
Two plugins can expose overlapping shipping methods or send duplicate updates. Give each integration a clear job, and remove redundant methods.
Show delivery costs early enough for customers to make an informed decision. Plan for returns and decide how return labels will be handled before one arrives.
Keep Cart, Checkout, and My Account outside shared full-page caching. Retest shipping after plugin updates or carrier API changes, especially when quotes disappear or totals stop refreshing.
Frequently Asked Questions
Are Label Rates the Same as Checkout Rates?
No. The customer-facing rate determines what your customer pays for shipping. Label rates determine what your store pays for postage.
Those amounts can differ when you offer flat-rate or free shipping. Compare both when reviewing margins so a convenient checkout offer doesn't leave delivery costs uncovered.
Where Can Shipping Method Names Be Changed?
Open WooCommerce > Settings > Shipping > Shipping zones, select the zone, and edit the method. Change its customer-facing title, then save.
Use clear names such as "Standard Delivery" or "Local Pickup." A friendly title helps customers choose, but it doesn't change the method's pricing or eligibility.
Can an Existing UPS Account Be Used?
Yes. WooCommerce documents an own-account UPS integration within WooCommerce Shipping.
Its label window displays available rates after the origin and destination addresses are entered and verified. This is an optional account connection for label purchasing, separate from configuring live carrier rates at checkout.
Keep Fulfillment Clear as Your Store Grows
A dependable shipping workflow has a clear sequence: calculate the charge, prepare the parcel, create postage, and update the customer. Keep order statuses tied to completed work, and your records become much easier to follow.
At ZADiC, we recommend pairing that workflow with hosting that fits your store's workload. Our WordPress hosting and Web Hosting Plus give you options for the website supporting your store's purchasing experience.
Ready to put the pieces together? Start with one shipping tool, run a complete test order, and choose the ZADiC hosting plan that fits your store's next stage.