
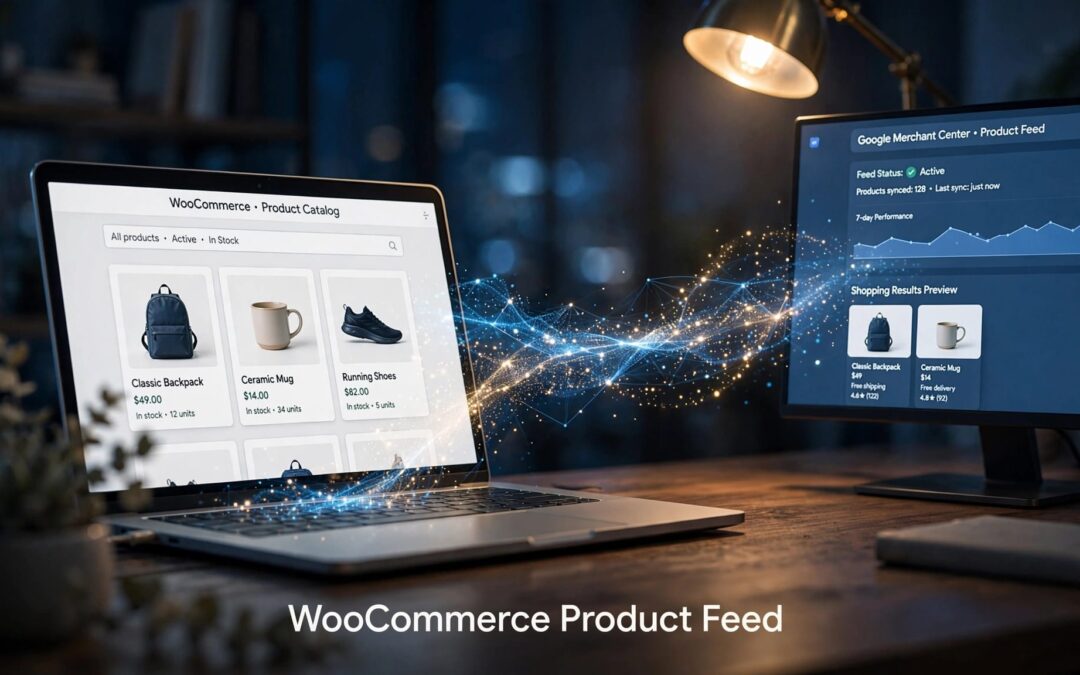
A WooCommerce product feed sends catalog details to Google Merchant Center through a feed URL. After Google's review, eligible products can appear on Google Shopping.
We recommend getting product accuracy right before submitting the feed. A successful upload doesn't mean every item is approved, and even a small price mismatch can hold products back.
Let's connect the pieces in the right order, starting with the tool that builds your feed.
Key Takeaways
- Use a feed plugin that supports Google's product attributes and your store's variations.
- Configure Merchant Center shipping and applicable tax settings before the first import.
- Keep feed prices, availability, and landing pages consistent.
- Schedule feed generation before Google's daily fetch, then resolve errors by product ID.
1. Choose a WooCommerce Product Feed Plugin
Your feed is a structured version of your catalog. It tells Google what you sell, where shoppers can buy it, and whether it's available.

Pick the tool for your catalog
WooCommerce's Google Product Feed extension is a practical choice for this walkthrough. It supports more than 50 attributes and automatically fills many basic fields.
WebToffee Product Feed for WooCommerce supports filtering and scheduled updates through WordPress cron or server cron. AdTribes Product Feed Pro offers hourly, twice-daily, or daily refreshes, while Elite adds custom scheduling and a structured-data correction setting.
Check multi-channel support before choosing. Confirm the plugin can generate an XML feed and separate feeds for each channel. Facebook and TikTok need destination-specific fields, so don't reuse Google's mapping for Facebook. Check TikTok's field requirements separately. Sellers using Pinterest or Bing Shopping should verify those destinations are supported.
We recommend choosing by catalog needs, rather than the longest feature list.
Separate a channel feed from a catalog export
A regular product export is useful for editing or moving inventory. Our WooCommerce product CSV export guide covers that workflow.
A Google feed needs channel-specific field names, accepted values, and dependable updates. Uploading an ordinary store export doesn't automatically provide those requirements.
Install and activate your chosen plugin, then select its Google product feed configuration.
2. Prepare Merchant Center Before Importing
Set up your Merchant Center account and claim your store's website. Then connect delivery and tax settings before Google reads the catalog.
Configure shipping and applicable taxes first
WooCommerce's Merchant Center setup instructions call for shipping and tax configuration before the first import. Missing information can cause import problems.
Use delivery charges and service areas that match your checkout. Keep tax treatment consistent with your business's confirmed obligations and target market.
A WooCommerce shipping class doesn't configure tax. It also doesn't automatically exclude bulky products from a separate free-shipping offer. Those rules need their own settings.
If you sell in person, configure eligible local inventory as a separate destination. Verify its store-level availability data, since online stock settings don't cover it.
Test the customer-facing total
We recommend completing a test checkout with a representative product and delivery address.
Compare the product price, delivery fee, product tax, shipping tax, and final total. For taxable core Flat Rate shipping, the method must permit taxation and the applicable tax-rate row must include shipping.
Fix checkout discrepancies before publishing the feed. Merchant Center settings can't repair an incorrect storefront calculation.
3. Map Product Fields and Google Categories
Attribute mapping tells the plugin which WooCommerce value belongs in each Google field. Start with the basics, then add product-specific information.
These are the main connections to review.
| WooCommerce information | Google attribute |
|---|---|
| Stable product or variation ID | id |
| Product title and description | title, description |
| Product page URL | link |
| Main product image | image_link |
| Price and stock status | price, availability |
| Mapped Google category | google_product_category |
Stable IDs matter. Keep them consistent across updates so Google can recognize existing items.
Add identifiers without inventing them
Google's product data specification defines accepted attributes and when they apply. Required information varies by product and market.
Your plugin can add fields for brand, GTIN, MPN, condition, and other supported attributes. Don't treat every available field as mandatory.
Use the manufacturer's genuine GTIN and preserve leading zeros. An internal SKU isn't automatically a GTIN or MPN. For products genuinely lacking assigned identifiers, use Google's supported identifier handling rather than manufacturing a barcode.
Condition values include new, refurbished, and used. Select the one that describes the item.
Keep categories separate from attributes
Category mapping connects your store categories to Google's taxonomy. Your internal navigation names don't necessarily match Google's category names.
Attributes describe the item itself. Color, size, and material should use consistent values across your catalog. We recommend reusable global WooCommerce attributes when several products share the same choices.
Creating an attribute isn't enough. Assign its actual values to each relevant product.
4. Handle Variations and Product Filters Carefully
Variable products need their own attention. Each purchasable option can have a different price, stock level, image, and identifier.

Match each variation to its landing page
Send each included product variation with a unique ID, the correct price and stock status, and accurate landing-page details. Related variations should share the appropriate item group identifier.
The landing page must present the advertised option and matching price. Sending every variation gives Google more options to display, but only when the destination supports those details accurately.
AdTribes documents a WooCommerce issue where structured data can show the cheapest variation price against other variations. Product Feed Elite includes a correction setting. This addresses that mismatch, not every possible reason for disapproval.
Filter deliberately before generating
We recommend starting with a controlled selection that includes your important product types.
Use advanced filtering to exclude items you don't want advertised. WebToffee documents filters for categories, product types, selected products, and out-of-stock status.
Then inspect the resulting count. A technically successful feed can still be missing products because a filter excluded them.
5. Generate the Feed and Schedule Updates
With mapping and filtering complete, generate the feed. Next comes the part that keeps it useful: dependable refreshes.
Copy the correct feed URL
For the Google Product Feed extension, open WooCommerce > Settings > Product Feeds. Find the URL in Active feeds.
Copy that address for Merchant Center. This path belongs to that extension; other plugins have their own feed-management screens.
Open the address without an administrator session to confirm Google can retrieve the content. A login screen, maintenance page, or blocked request prevents collection.
Keep the URL stable when updating the feed.
Put generation ahead of Google's fetch
Confirm the plugin's auto-refresh setting regenerates the feed on your intended schedule. AdTribes Product Feed Pro supports hourly, twice-daily, or daily generation. WebToffee supports WordPress cron and server cron.
WordPress cron commonly runs when visitors trigger site requests. Low traffic can delay scheduled work. A working server cron setup gives you another way to trigger updates reliably.
Schedule generation before Google's collection time. That gives the feed time to finish.
For large catalogs, use batch processing where supported. Generating items in batches can reduce resource strain. Product Feed Manager documents this approach. Our WooCommerce hosting checklist helps you plan the resource side, while our VPS hosting plans offer options when your workload needs more control.
6. Add the Feed to Google Merchant Center
Now give Google the address it should collect. Some Merchant Center interfaces call feeds "data sources"; the scheduled-fetch workflow follows the same basic sequence.
- Create a primary feed with the type Products.
- Set the target country and language to match your catalog and landing pages.
- Choose Scheduled fetch and paste the feed URL.
- Set the fetch frequency to Daily, after your store's generation schedule.
- Save the configuration and select Fetch Now.
WooCommerce says the initial fetch can take up to 15 minutes.
A completed fetch means Google retrieved the data. Product processing and approval are separate steps. Review the import results and product issues before expecting the whole catalog to appear.
We recommend comparing submitted and accepted item counts. If the totals differ, use the affected product IDs to trace the problem instead of regenerating everything immediately.
An approved catalog can make products eligible for Google Shopping. A successful fetch and product approval don't create a paid advertising campaign; Shopping ads still require separate campaign setup.
7. Fix Errors at Their Source
Start with the exact issue Merchant Center reports. Record the product ID, error message, and affected attribute.
For a price mismatch, compare the feed value, selected variation, visible landing-page price, and structured data. For availability problems, compare the exact variation's stock status rather than only the parent product.
Missing images need a different approach. The image address must resolve publicly, without a login or access block.
Shipping errors belong in the delivery configuration. WooCommerce's Google Product Feed troubleshooting documentation identifies Merchant Center shipping rules as a separate requirement.
Refreshing the feed won't fix a value that the source product or mapping still gets wrong.
Correct the product, mapping, or account setting first. Regenerate the feed, request another fetch, and review the updated result. Change one cause at a time so you can tell which correction worked.
Frequently Asked Questions
Can WooCommerce reviews appear alongside products?
Yes, through a separate product-review feed and the Google Product Reviews program. Sending your primary catalog feed doesn't automatically enroll your store or publish its ratings.
WooCommerce supports full, weekly incremental, and daily incremental review feeds. Its product-review feed instructions describe the separate setup.
We recommend getting the primary product feed working first. Then add review data with consistent product identifiers.
Can products be uploaded to WooCommerce in bulk first?
Yes. WooCommerce's built-in importer accepts product CSV files through Products > Import.
Map the columns and choose whether you're adding items or updating existing products. Updates use matching IDs or SKUs, so identifier accuracy matters before feed generation begins.
Our WooCommerce product import guide covers duplicate-SKU prevention and safe updates. An import populates your store; the feed plugin handles the separate job of preparing that information for Google.
Give Your Feed a Dependable Foundation
A useful WooCommerce product feed starts with accurate catalog data. Match the fields, align delivery settings, and keep generation ahead of Google's fetch.
Your hosting supports those background jobs and the storefront shoppers reach. Explore our WordPress hosting plans for your store's next step. We'll help you choose the foundation, while your clean product data keeps the connection on track.