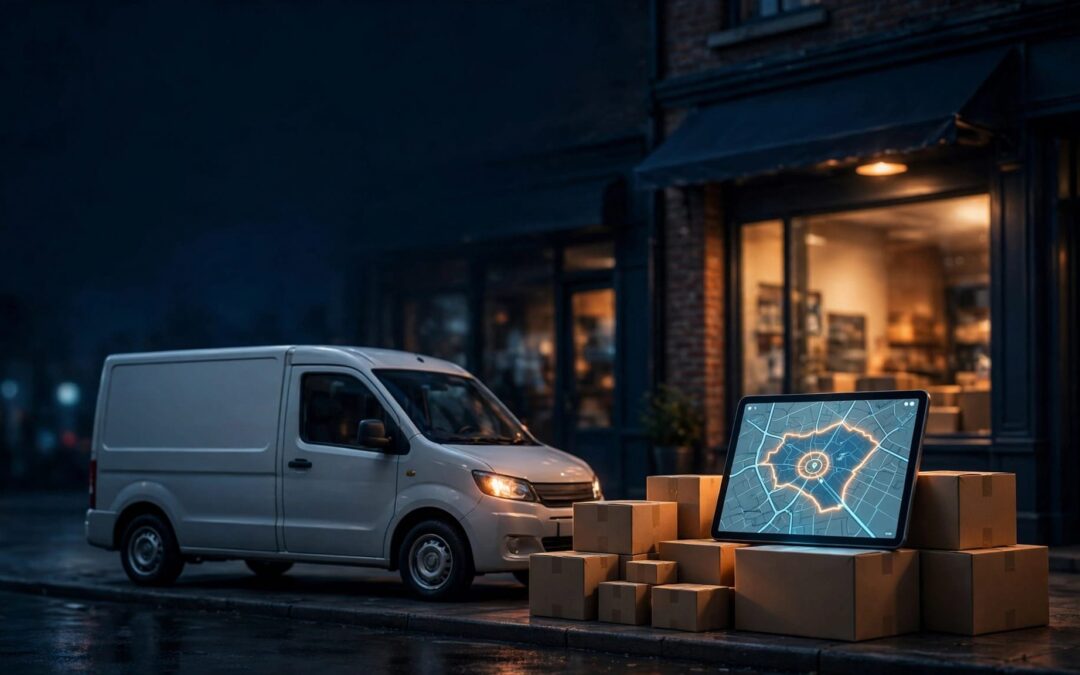
A customer down the street wants delivery. Your checkout says their address isn’t eligible. That small mismatch can stop a sale before you even know it happened.
Local delivery starts with a clear service area. WooCommerce shipping zones let you define that area, then show a delivery rate to customers whose addresses match it. Once the boundaries are right, the setup is straightforward.
Key Takeaways
- Use a shipping zone to define where you deliver, then add Flat Rate or Free Shipping as the delivery method.
- Put narrow local zones above broader zones. WooCommerce uses the first zone that matches a customer’s address.
- Test addresses inside, outside, and at the edge of your service area before accepting orders.
- Local Pickup is a separate choice. Adding it won’t arrange delivery to a customer’s door.
Plan WooCommerce Shipping Zones Around Your Delivery Area
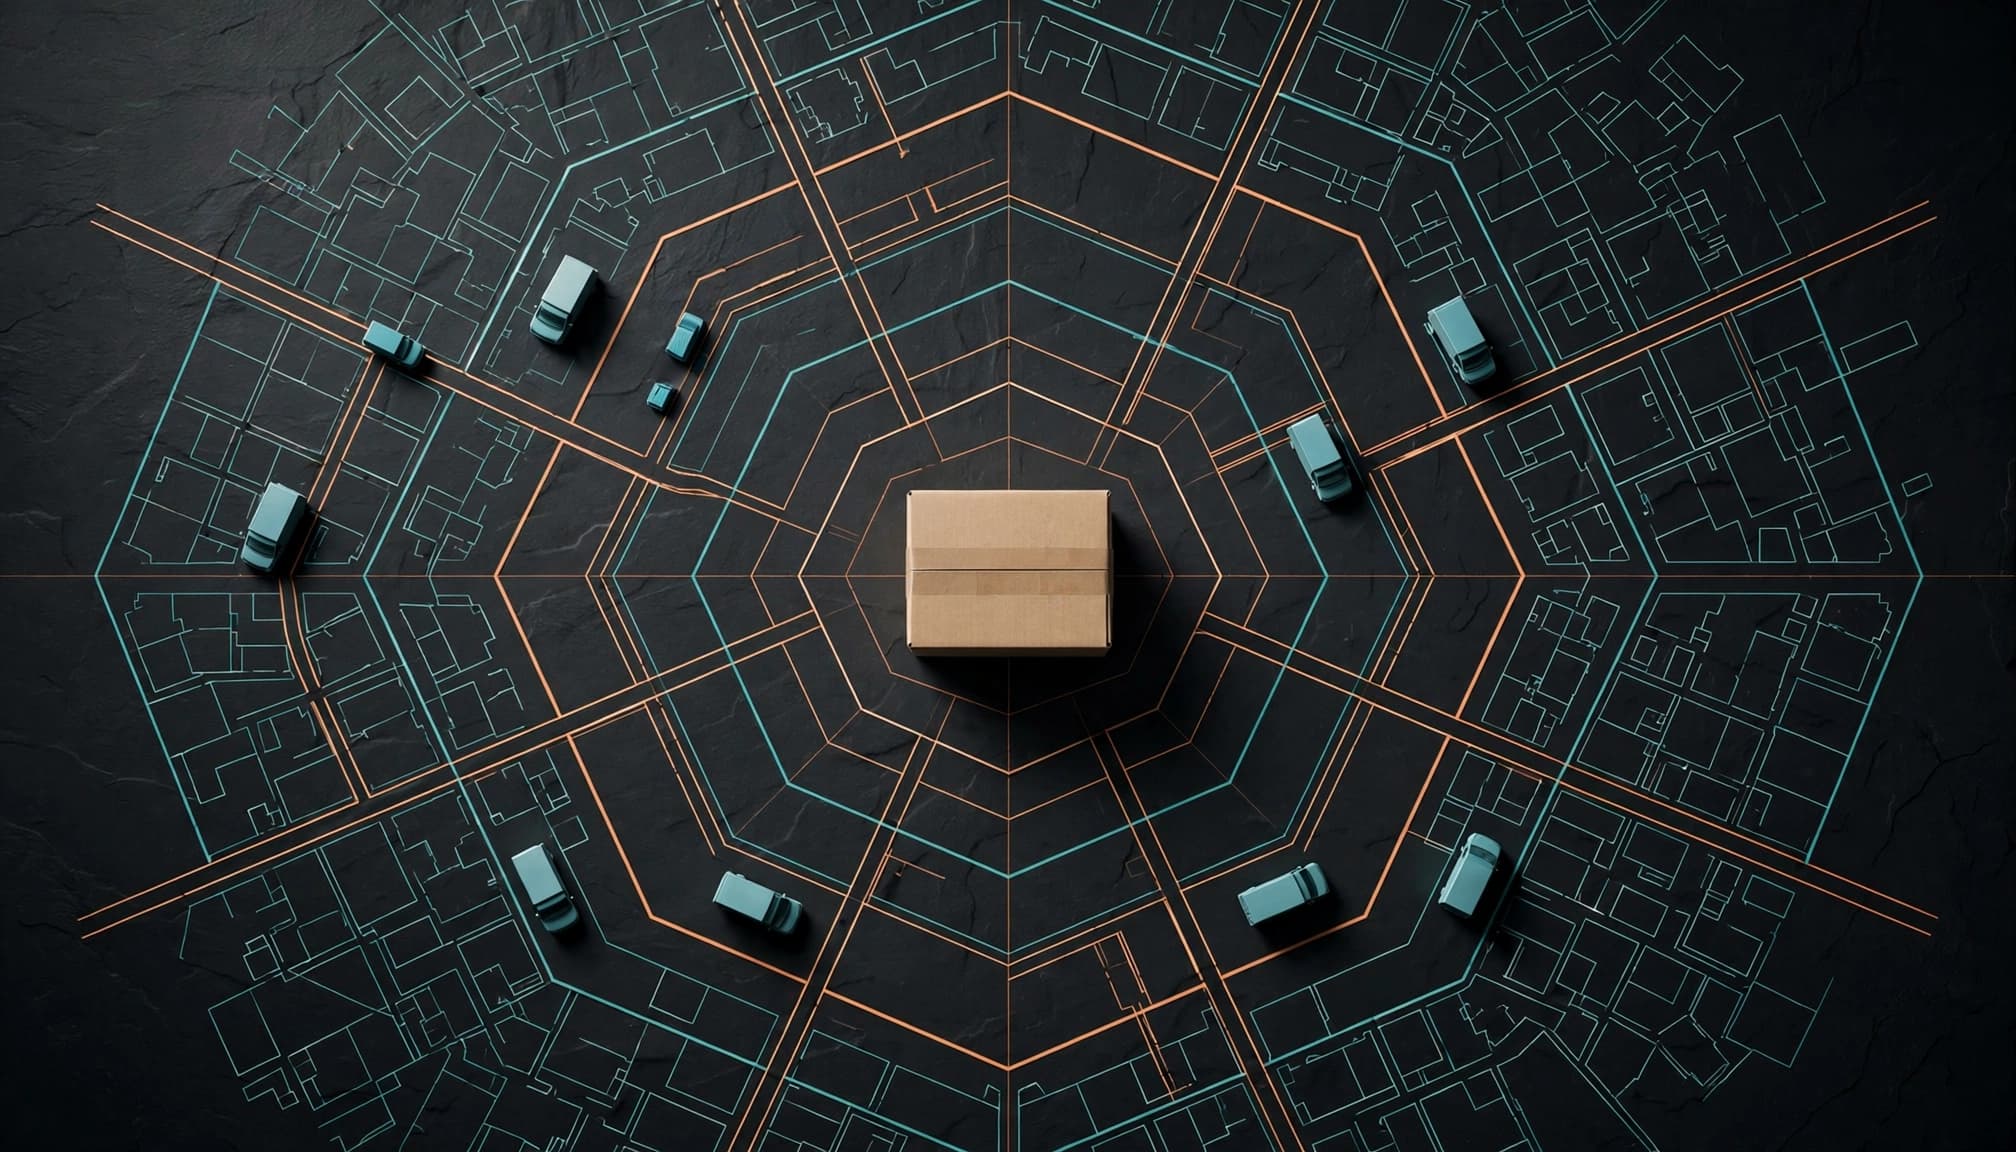
Start with the area your team can reliably serve. A postcode on a map may look close, but the route could take longer than expected. Check your actual delivery capacity before promising coverage at checkout.
Choose boundaries you can maintain
WooCommerce can define zones by country, state, or province, with optional postcode limits. For a neighborhood service, postcodes are often more useful than a statewide rule.
Say your store delivers to selected ZIP codes in California. Choose California as the region, then limit the zone to the ZIP codes you serve. ZIP 90210 is one possible test address, but include it only if you can fulfill orders there.
Keep your delivery schedule beside this list. A checkout rate tells customers where delivery is available; it doesn’t tell your staff when to pack and send an order.
Decide what happens outside the area
You may also ship nationally or offer pickup. Decide which option an address outside your local area should see before you build the zones.
A local delivery zone controls eligibility at checkout. It doesn’t calculate driving distance or assign a driver.
If routes change, update the postcode list before you promote delivery to a new neighborhood. That keeps the promise on your product pages aligned with the options at checkout.
Create a Local Delivery Zone in WooCommerce
Ready to build it? Open WooCommerce > Settings > Shipping > Shipping zones in your WordPress dashboard. WooCommerce’s shipping-zone setup guide shows the same settings if your screen looks different after an update.
Add a name your team understands
Select Add zone and enter a clear zone name, such as “Local Delivery.” If you charge different amounts across service areas, names like “Nearby Delivery” and “Outer Delivery” make the list easier to manage.
The zone name is mainly for your store administration. The shipping method’s title is what customers see at checkout, so you can make that more customer-friendly later.
Select the zone region next. Don’t choose a whole country for neighborhood delivery unless you also set postcode restrictions. A broad region without limits could offer your local rate much farther away than intended.
Limit the zone to eligible postcodes
Use the zone’s postcode restriction field to enter the postcodes you serve, then save your changes. Double-check every entry against your delivery map or route list. A missing postcode can reject a nearby customer; an extra one can create an order your team can’t deliver.
Need different prices for different neighborhoods? Create separate zones rather than trying to make one basic flat rate cover every route. You can set a method and price for each zone.
At this point, you’ve defined where delivery applies. You still need a shipping method. Without one, the matching customer won’t have a local delivery rate to choose.
Add the Delivery Rate Customers Will See
WooCommerce includes Flat Rate, Free Shipping, and Local Pickup as core shipping methods. There isn’t a separate core method called “Local Delivery.” For delivery to an address, add Flat Rate or Free Shipping to your local zone.
Charge a flat delivery fee
Open the new zone and select Add shipping method, then choose Flat Rate. Edit the method to enter your delivery cost and change its customer-facing title to something clear, such as “Local Delivery.”
Choose a fee your routes can support. If outer neighborhoods cost more to serve, place them in their own zone with their own flat rate. Review the amount when fuel costs, order volume, or delivery staffing changes.
Check any shipping-class settings if your store uses them. A heavy item may cost more to deliver than a small bag, and you don’t want a rate meant for everyday orders applied without review.
Offer free delivery when it makes sense
Select Free Shipping instead if you want eligible local customers to pay nothing for delivery. WooCommerce can also make free shipping conditional, such as requiring a minimum order amount or an eligible coupon.
If you add both Flat Rate and Free Shipping to the zone, test what shoppers see when they qualify for free delivery and when they don’t. Don’t assume the paid option disappears.
Save the method settings and confirm the method is active. One small switch can be the difference between a usable checkout and “no shipping options available.”
Put Overlapping Zones in the Right Order
Zone order matters. WooCommerce matches a customer’s address to the first eligible zone in the list, then uses that zone’s methods. It won’t collect methods from every matching zone.
For example, a California local-delivery zone limited to selected ZIP codes may overlap a broader California shipping zone. Place the local zone above the statewide one. Otherwise, a customer in your delivery area may see the broader shipping rate instead.
Keep your remaining shipping zones below the local ones, moving from narrower coverage to broader coverage. Check the Rest of the World zone too. Its available methods determine what happens when an address matches none of your named zones.
If you’re unsure which zone won, use an actual checkout address. The rate shown to a shopper is a better test than a zone list that merely looks right.
Test Local Delivery Like a Customer
Settings can look perfect in the dashboard and still surprise you at checkout. Run tests before announcing delivery on your homepage or product pages.
Try addresses on both sides of the boundary
Open a private browser window, add a deliverable product to the cart, and enter an address inside your local zone. Confirm that the method name and price are correct.
Next, test a nearby address outside the covered postcodes. It should show your intended alternative, such as standard shipping, or no shipping method if you don’t serve that address. Test a boundary postcode as well. That’s where small entry mistakes tend to show up.
Complete a controlled test order if you can. Check the shipping line, payment record, order notes, and confirmation email. Then confirm your staff can see what they need to prepare the delivery. Repeat on a phone, where many customers will place their orders.
Keep pickup separate from delivery
Pickup means the customer comes to your location; delivery means you take the order to theirs. WooCommerce’s Local Pickup documentation covers the zone-based pickup method.
If you use the Checkout Block, its Local Pickup settings work separately from shipping zones and can offer pickup regardless of the customer’s address. Check which pickup experience your store uses before assuming your local delivery boundary also limits pickup.
Fix Missing or Incorrect Delivery Options
If local delivery doesn’t appear, start with the address. Does its country, state, and postcode match the zone? Then check whether the zone has an active Flat Rate or Free Shipping method.
If the wrong price appears, review the order of your zones. A broader zone above your local one can catch the address first. Also check whether a free-shipping condition or coupon changed the options shown.
Still stuck? Reproduce the issue in a private window with a simple cart. Try another postcode in the same zone to narrow down the cause. If the shipping method appears but the cart resets or checkout stalls, treat that as a separate checkout problem. Our guide to WooCommerce cart session problems can help you check that path.
Make one change at a time and rerun the same test. Changing zones, plugins, and cache settings together makes the cause much harder to find.
Give Your Store a Reliable Hosting Base
Local delivery brings more moving parts to checkout: customer addresses, live shipping choices, and orders your team needs to fulfill promptly. Your hosting won’t set the right postcodes for you, but a slow or unstable store can make a good setup feel broken.
We recommend starting with our WooCommerce hosting launch checklist before you open delivery to more customers. Check backups, SSL, available resources, and a safe place to test updates.
If you’d rather spend your time on products and routes, our WordPress hosting plans give you setup tools, backup protection, security features, and support. Check the features of the plan you choose, then give your checkout a full test before launch.
Frequently Asked Questions
Can WooCommerce limit local delivery by postcode?
Yes. Create a shipping zone for the relevant region and add postcode limits. Then attach Flat Rate or Free Shipping to that zone. The postcode limits decide which customer addresses match; the shipping method supplies the rate.
Does WooCommerce include a Local Delivery method?
WooCommerce core includes Flat Rate, Free Shipping, and Local Pickup. For local delivery, use a delivery-area zone with Flat Rate or Free Shipping. More advanced needs, such as delivery time slots or route-based pricing, require additional tools.
Why do local customers see a different shipping rate?
Their address may match a broader zone placed above your local zone. Check the zone order, postcode entries, and active methods. Test the exact address in checkout after each change.
Can customers choose pickup and delivery?
Yes, if you configure both options. Check how pickup is set up in your store, especially if you use the Checkout Block. Pickup and delivery have different handoff steps, so their checkout names should make the choice obvious.
Make Local Delivery Easy to Buy
A nearby customer should never have to guess whether you deliver to them. Define the right postcodes, attach a clear rate, and test both sides of the boundary.
Start small and verify the full order path. You can expand the service area once checkout and fulfillment work reliably for the customers you already serve.