
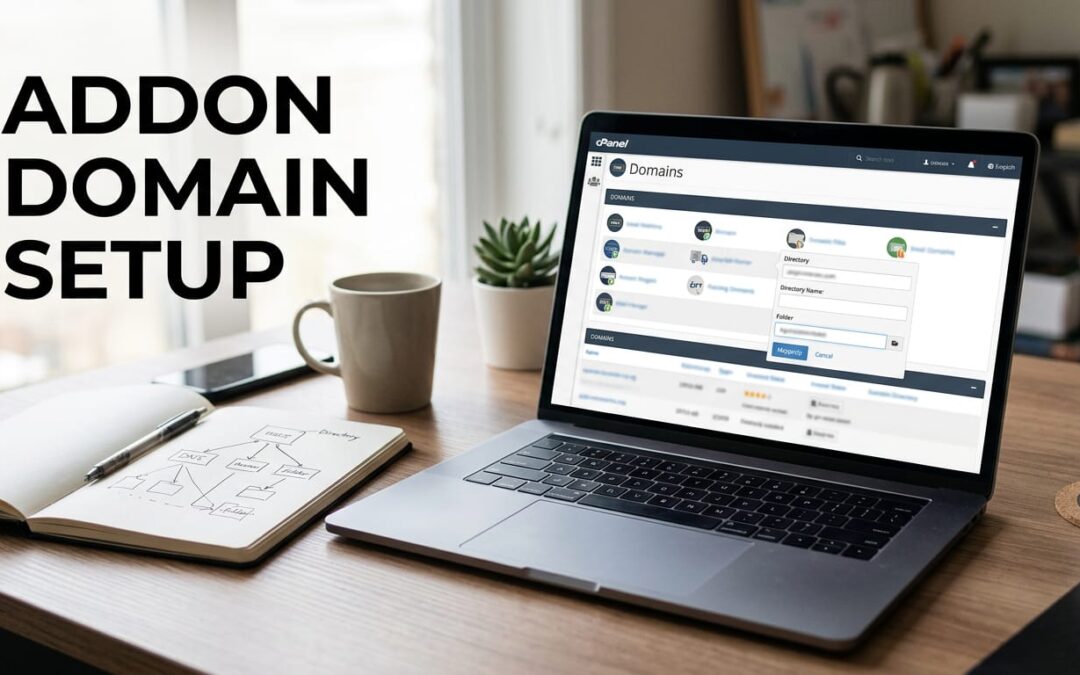
Adding a cPanel addon domain lets you host another registered website in the account you already have. The key is to prepare the domain's DNS first, then give the new domain name its own dedicated site folder in cPanel.
Skip those checks and the domain may fail to add, point to the wrong place, or disrupt services tied to it. We'll walk through the setup in order, including ownership validation, common errors, temporary domains, and cleanup.
Before you add the domain
An addon domain is an additional domain managed by your cPanel account. It can have its own website files in a separate directory, so each site stays organized. cPanel now commonly groups domain setup under Domains, even when your host still calls the feature "addon domains." cPanel's glossary defines addon domains and how their directories work.
Some hosts don't support this feature, and menu labels vary by cPanel version and hosting plan.

Check the domain and your hosting plan
The domain must be registered and available to add to your account. It also can't already be attached to that same account as the main domain or as another addon domain. If cPanel reports that the domain already exists, check the account's domain list before trying again.
Your hosting package determines how many websites or domains you can attach. Those limits vary by company and plan. For example, NameHero lists Starter Cloud for one website, Plus Cloud for up to seven, and Turbo Cloud and Business Cloud for unlimited websites within a 500,000 inode or file limit. Turbo Cloud includes 3 GB of physical memory, while Business Cloud includes 4 GB.
Point the domain to the host
A domain's nameservers tell the internet where its DNS records are managed. Set the nameservers at your domain registrar to the values supplied for your hosting account. NameHero says its nameservers are account-specific, so use the details assigned to your service rather than assuming one pair applies to every account.
Nameserver changes take time to spread across DNS. During that period, the domain may work for some visitors before it works for others. Avoid repeatedly changing settings while the update is spreading. For a plain explanation of how the two settings differ, see our guide to nameservers and DNS records.

Validate domain ownership when nameservers must stay
Sometimes you can't point the domain to your hosting provider's nameservers. You may need to keep a third-party DNS service, build the website before connecting the domain, or prepare a DNS zone in advance. In these cases, domain name validation through your hosting panel may prove ownership without changing nameservers, if your host supports it.
The validation token is temporary. Namecheap's process gives the code a one-day validity window, so complete your chosen method before it expires.
Choose one of the three validation methods
Use the method your hosting panel offers and follow its instructions for the token and exact location:
- With DNS TXT validation, add the provided TXT record through the service that currently manages the domain's DNS.
- With HTTP TXT validation, upload the provided text file to the specified website root.
- With HTML validation, place the supplied code in the head section of the website.
After making the change, return to the hosting panel and run the validation step. A failed check may mean the token was entered in the wrong DNS manager, the file is in the wrong directory, or the code has expired.
Add the domain in cPanel
Once the domain is ready and your plan allows another site, the cPanel setup is short. The domain must point to the host or pass the control validation the host requires. Otherwise, submitting it may produce an error.
Create the domain entry
- Sign in to cPanel and open the Domains menu.
- Click Create A New Domain.
- Enter the registered domain name.
- Choose whether it should share the main domain's folder.
- Click Submit.
The Subdomain field usually fills in automatically after you enter the domain. It supports cPanel's internal setup, so you can generally leave it as provided. For a standalone website, select a separate folder for the site files. cPanel's Create a New Domain instructions describe the available settings.
Choose the right document root
The website's files live in its assigned folder. A separate folder keeps the addon site's files apart from your main website. If you choose a shared folder, both domains can show the same content, which may not be what you intend.
Use a clear folder name that matches the domain or project. Keep the new site's files in that folder when you upload them or install an application. cPanel's domain management documentation explains how to view and manage site folders.
Fix common addon-domain errors
An error during setup often points to a prerequisite, not a broken cPanel account. Check the domain's status, DNS direction, and account limit before changing other settings.
The domain is not pointed to the host
If the nameservers still direct the domain elsewhere, cPanel may reject the submission. Confirm that the registrar has the hosting provider's nameservers saved and allow time for DNS to update. If nameservers must remain unchanged, use the ownership validation option when it is available.
Also check that you are editing DNS at the active provider. If a domain uses third-party nameservers, edits made in the hosting account's DNS editor may not control the live records.
The domain already exists or the plan is full
If cPanel says the domain is already in use, check whether it is attached as the account's primary domain or listed under Domains. A domain can't be added again in the same account under a second role.
If the account has reached its website limit, cPanel may block another domain even when the DNS is correct. Your host's plan limits show why this varies: Starter Cloud allows one website, while its higher tiers allow more. Your host's account configuration, not the cPanel screen alone, determines the limit.
Set up the website after adding the domain
Adding a domain creates its cPanel entry and directory. It doesn't automatically create a finished website. Upload the site files to the selected document root, or use a supported application installer to set up a content management system such as WordPress.
If you're choosing hosting for multiple websites, compare ZADiC cPanel web hosting and ZADiC's cPanel hosting plans. Choose a package that supports your site count and resource needs.
Check SSL and the Sitejet Builder rules
After DNS points to the hosting account, check whether an SSL certificate is active before sending visitors to the site. NameHero says its AutoSSL is automatic once the nameservers point correctly, though a certificate may not appear as soon as you add the domain. Test the site in a browser and confirm the secure https:// version loads the intended site before launch.
If you plan to use Sitejet Website Builder, cPanel lists several Sitejet Builder restrictions. The domain can't share a document root, have a redirect configured, or belong to an account that has reached its domain limit. Remove any existing redirect before publishing. Publishing may offer a restore point if files already exist. It can also delete an existing robots.txt file, so save a copy if you need it. See cPanel's Sitejet Builder documentation.
Use a temporary domain only for testing
Some hosts provide a temporary cpanel.site subdomain so you can preview a website before connecting its permanent domain. It's useful for early setup, but it isn't a substitute for a permanent domain. Namecheap notes that its temporary domains don't support email or DNS editing.
When you're ready to switch, open Domains, select Manage, and choose Replace with a registered domain. Then enter the domain and complete the prompts.
The new domain may use a different document root. Your files don't move automatically when you replace the temporary domain. Move or copy the site content to the new root, then check the domain and SSL before launch.
Remove an addon domain without deleting its files
Removing a domain from cPanel disconnects its entry from the account. It doesn't automatically erase the document root or the content stored there, which gives you a chance to keep or reuse those files.
Open Domains, click Manage beside the addon domain, and select Remove Domain. Confirm with Yes, remove this domain. The domain entry is removed, but the directory and website content remain in File Manager. Delete those files separately only if you no longer need them.
Before removing a live domain, consider what else uses it. Website files, email accounts, and DNS settings are separate pieces of the setup. Removing the domain entry doesn't replace a planned migration or preserve services that depend on the domain.
Frequently asked questions
How do I add a new domain to cPanel?
Point the domain to your hosting account or complete ownership validation if nameservers must stay elsewhere. Then open Domains, choose Create A New Domain, enter the registered domain, select a new or shared document root, and submit.
Why does cPanel show an error when I submit the domain?
The domain may not point to the host, may already exist in the account, or the hosting plan may have reached its domain limit. Check those three items first.
How long does nameserver propagation take?
The update isn't instant, and timing varies across networks. Give DNS time to update before repeatedly editing settings. Test again later from a different network if the domain still shows the old destination.
Do I need to validate ownership if I can change nameservers?
Usually, validation is for cases where nameservers can't be changed and the hosting provider offers another ownership check. Follow the method shown in your hosting panel.
Key takeaways
- Check the domain, plan limit, and nameservers before opening the cPanel form.
- Give each independent website its own document root.
- Use domain validation when nameservers must remain with another provider.
- After setup, add the site files and confirm the secure version works.
Add the domain with confidence
A cPanel addon domain is straightforward to set up when DNS, account limits, and the document root are ready first. Take care of those pieces, submit the domain, and then finish the website in its own folder. That keeps the process clear and your sites easier to manage.