
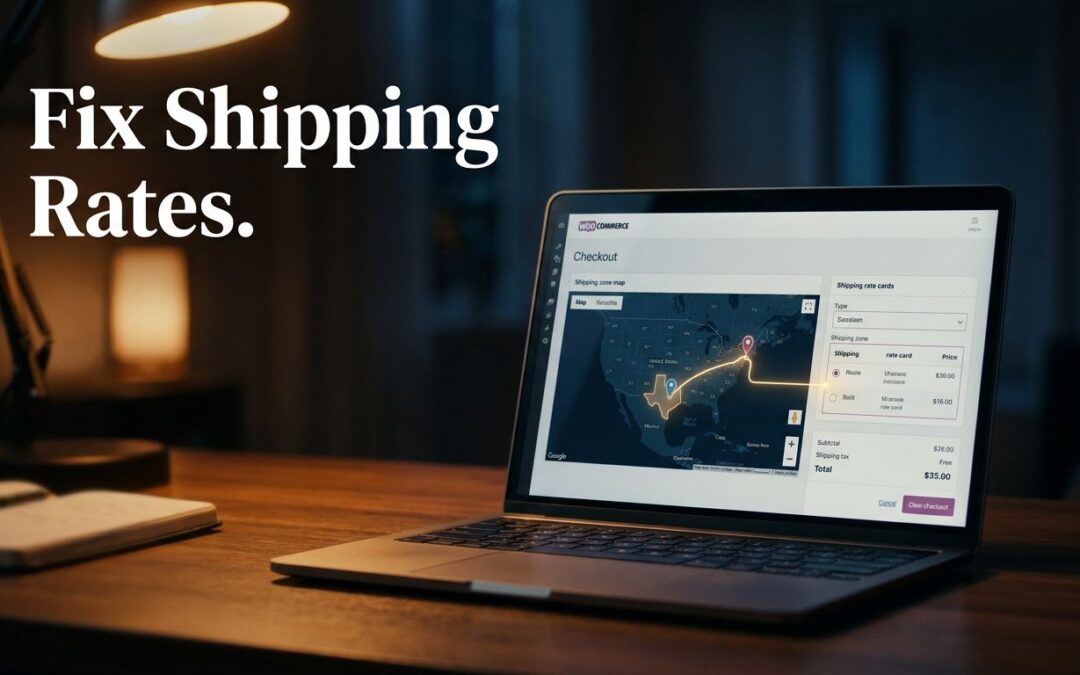
WooCommerce shipping rates usually stop showing when a customer's address doesn't match the right zone, or when that zone has no eligible shipping method. Start there. A few focused checks can get your checkout moving again.
The good news? You don't need to rebuild your store to find the problem. We recommend following the address first, then checking the method, product details, and checkout behavior.
Key Takeaways
- WooCommerce uses the first shipping zone that matches the customer's address.
- Each zone needs an active shipping method with conditions the order meets.
- Virtual products, missing product data, and shipping-class settings can affect the options shown.
- Debug mode helps identify the matched zone and bypasses the shipping-rate cache.
- Test one change at a time so you can see what fixed the issue.
Start With the Customer's Shipping Zone
A shipping zone tells WooCommerce where a method applies. If the address lands in the wrong zone, the right rate can be sitting in your dashboard and still never appear at checkout.

Check regions, postcodes, and zone order
In your WordPress dashboard, open WooCommerce > Settings > Shipping > Shipping zones. Find the zone that should serve your test address, then review its country, state or province, and any postcode restrictions.
One missing ZIP code can keep a nearby customer from matching your local delivery area. An extra postcode can offer delivery somewhere you don't serve. Compare the saved entries with your actual service area.
Next, look at the order of your zones. WooCommerce checks them from top to bottom and uses the first match. It doesn't combine methods from overlapping zones.
Say you have a California zone limited to selected ZIP codes and another zone for the entire state. Put the local zone first. Otherwise, the statewide zone can catch that customer before WooCommerce reaches the local rate.
The WooCommerce shipping zone documentation covers how regions and methods fit together.
Review the address and fallback zone
Check which address your shipping settings use. Depending on your configuration, WooCommerce may calculate shipping using the customer's shipping address or billing address. A shopper with different addresses could match a different zone than you expect.
Also review Locations not covered by your other zones. This fallback applies when no named zone matches. If it has no active method, customers outside your named zones won't get a rate.
Add an Eligible Shipping Method
A matching zone is only half the setup. It also needs a method that can handle the order.

Turn on the method in the matching zone
Open the matched zone and look at its shipping methods. WooCommerce includes Flat Rate, Free Shipping, and Local Pickup. Make sure the method you want is added, enabled, and saved in that zone.
For local delivery, you can add Flat Rate and give it a customer-facing title such as "Local Delivery." Local Pickup is a separate choice: your customer collects the order instead of receiving it at their door.
Need a fixed delivery charge? Edit Flat Rate and enter the amount in its Cost field. The Flat Rate setup guide also covers per-item and shipping-class calculations.
Check free shipping and display rules
Free Shipping can require a minimum order amount, a valid coupon, or another configured condition. If the order doesn't qualify, that method won't appear. Our guide to setting a free shipping threshold walks through the setup.
Keep another eligible method active if customers should still be able to buy below the threshold. Then test what happens both below and above it.
WooCommerce also has options that can hide shipping costs until an address is entered or hide other rates when free shipping is available. Review those display settings before assuming a method has disappeared. Enter the full address in checkout and allow the totals to update.
Check Products and Shipping Classes
A zone and method can be correct while the product data sends the calculation in another direction. Start with the item in the customer's cart.
Review virtual status and variation details
Open the product in WordPress and look at its Product data settings. A physical item that needs shipping shouldn't be marked Virtual. If the cart contains only virtual products, WooCommerce won't treat them as items that need delivery.
For variable products, inspect the exact variation the customer selected. Its shipping class can differ from the parent product's assignment.
Weight and dimensions matter when your shipping method or carrier extension uses them. Enter accurate values where required. A live-rate tool may need package information that a simple Flat Rate method doesn't.
Connect class costs to Flat Rate
Shipping classes group products with similar delivery needs. A class alone doesn't create a rate. You need to assign it to the product and enter its cost in the relevant zone's Flat Rate method.
Check the base Cost field, each applicable class cost, and the No shipping class cost field. A base amount can be added to class charges, so an old value may explain an unexpected total.
For mixed baskets, Flat Rate's Calculation Type controls whether applicable class charges are added per class or whether the most expensive class charge is used per order. Our guide to WooCommerce shipping classes explains how to set up those choices for heavy or bulky products.
Use Debug Mode to Narrow the Problem
Still looking at an empty shipping section? Debug mode gives you a clearer starting point.
Find the matched zone
Open WooCommerce > Settings > Shipping > Shipping options and enable shipping debug mode. Depending on your WooCommerce version, the label or placement may look a little different.
Run the same cart and address through checkout again. Debug mode displays the matched zone and bypasses the shipping-rate cache. That tells you whether you're working in the right zone before you change more settings.
If the wrong zone appears, fix its regions or order. If the right zone appears, return to its methods and their conditions. WooCommerce's core shipping troubleshooting guide follows the same practical path.
Turn debug mode off after testing so diagnostic information isn't shown to shoppers.
Investigate live carrier rates separately
Carrier extensions add another layer. If your store requests live rates from a service such as USPS or UPS, the extension may depend on account credentials, eligible services, origin details, and package data.
Open that extension's settings and look for its diagnostic or logging option. For example, the USPS Shipping Method can log requests and responses under WooCommerce > Status > Logs when its debug mode is enabled.
Read the error against the address and product you tested. Carrier tools don't all report problems in the same way, and a failed live quote needs a different fix than a mismatched WooCommerce zone.
Fix Stale Totals and Checkout Conflicts
Does the correct rate appear, then vanish after a refresh? Does checkout stop updating when you change the address? Those symptoms can point to a session, cache, plugin, or theme issue.
Cart, Checkout, and My Account pages contain customer-specific information. Keep them out of shared full-page caching, then clear the relevant cache layers after changing exclusions. That can include your WordPress cache plugin, hosting cache, and CDN.
Try the same purchase in a private browser window. This gives you a fresh session without disturbing a customer's cart.
If the problem continues, use a staging copy when available. Temporarily disable other plugins or switch to a default WordPress theme there, then repeat the same checkout test. Restore items one at a time to identify a conflict. That approach protects your live store while you narrow down the cause.
Test Rates Before Customers Return
Once the setting looks right, run through the complete buying path. A rate that appears in the dashboard still needs to make sense to the customer at checkout.
Test an address inside your intended zone, one outside it, and one near the boundary. Use a simple physical product first. Then try a variable product, a mixed basket, and any coupon or free-shipping offer you support.
Check guest checkout if it's enabled, along with mobile and desktop views. Place a controlled test order and look at the saved order record. The selected method and amount should match what you intended to offer.
Make one change at a time and repeat the same test. That keeps a small fix from turning into a guessing game.
Give Checkout a Reliable Hosting Base
Your hosting won't choose a shipping zone or enter a delivery price for you. It does support the store handling product data, customer sessions, and checkout requests.
We offer WordPress hosting and cPanel hosting for businesses building and managing their websites. If your checkout needs attention beyond its shipping settings, our 24/7 support is there to help with your hosting questions.
A reliable setup gives you room to focus on the part only you can decide: where you deliver, what you charge, and what you promise customers.
Frequently Asked Questions
Why does WooCommerce say no shipping options are available?
The address may not match a zone with an active, eligible method. Review the customer's full address, zone order, method status, and any minimum-spend or coupon requirements.
Why does free shipping show but my paid rate doesn't?
Your display settings may hide other shipping rates when free shipping is available. Review that option and test an order that qualifies for the offer.
Do shipping classes create rates automatically?
No. Assign the class to a product, then configure its cost in a compatible shipping method. Core Flat Rate supports class-based charges.
Get Shipping Options Back on Track
A working rate starts with the matched zone. Once you know which zone handles the address, you can check its methods, conditions, and product settings with confidence.
Take the fixes one at a time. Then test the checkout customers will use, so the delivery option they see matches the promise you made.